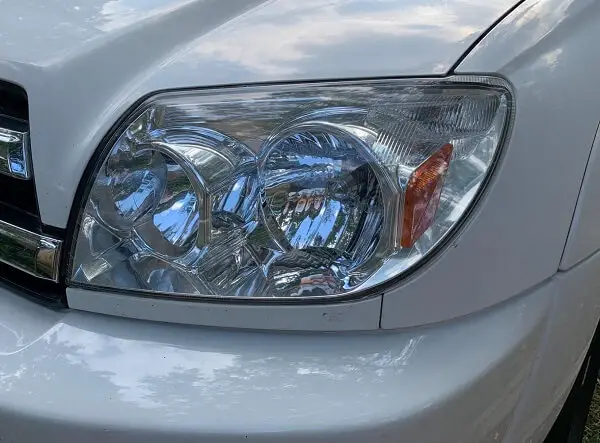
It is important to know the reason and understand what you’re dealing with before getting started on fixing it.
Headlights start to blur over the long run, and it’s absolutely impossible around it. As your headlights blur, the measure of light that makes it out of the front lamp turns out to be less, and before you know it, driving around evening time becomes troublesome, yet more significantly, perilous.
You must be familiar with Polycarbonate, but if not, that’s what I’m here for. Polycarbonate is a type of plastic that makes up the lens of headlights, phone cases, etc.
It stains over time and becomes yellow after remaining in contact with sunlight (UV rays). Yellow headlights look worn-out, and their light output is also quite poor, which can decrease visibility at night.
Now if you’re interested in knowing the science behind it, here goes: headlight lenses have a protective layer on them that prevents the UV rays from ruining the polycarbonate structure of the cover.
However, it deteriorates over time, exposing it to UV rays, making the bonds between the molecules lose strength.
This results in a yellow-hued polycarbonate headlight.
Nothing to worry about here as you can fix it but make sure you do it as soon as you notice the yellow hue to appear because with time the UV rays can penetrate deeper causing more serious unfixable damage
What can cause the headlights to become yellow?
A word that sums up all that can go wrong with the headlights of your vehicle is neglect. Despite having protective layers on them, dirt and chemicals like road salts and polishing compounds can damage them as that layer wears off after years of use.
The temperature change can cause water vapors inside it that you can wipe off which can reach the lens and mess it up. The opaqueness of a worn-out headlight can reduce visibility up to a great extent.
Restore Headlights With Sandpaper
Here are two methods that I’ve been using to fix headlights
Method # 1
Tools Needed For This Task
- 600 grit sandpaper
- 1500 grit Sandpaper
- Sponge
- Paper Towels
- Acrylic enamel paint
- Old NewsPaper
- Turtle Wax
- Microfiber Cloth
Start by cleaning the lens thoroughly. For this you’ll be needing water, a Sponge and some paper towels. Wipe off the dust using the wet ponge and dry the area with some paper towels.
Now apply tape on the edges of the headlight lens to avoid damage in the surrounding areas. Time to sand! A 600 grit sandpaper will do the job just fine.
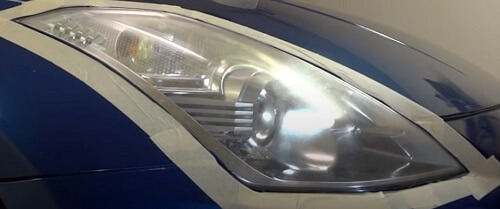
Before sanding, make sure you wet the lens enough to avoid damage during sanding. Sanding in layers gives a better and more even finish. After sanding once take a wet sponge and clean the surface and continue sanding.
If you see it getting worse don’t get scared, it’ll get better I promise. You might notice some clear spots that are undone.
Make sure to evenly sand the lens with 600 grit sandpaper before moving on to 1800grit. You are looking for a somewhat foggy and opaque headlight lens after you are done with 600 grit sanding.
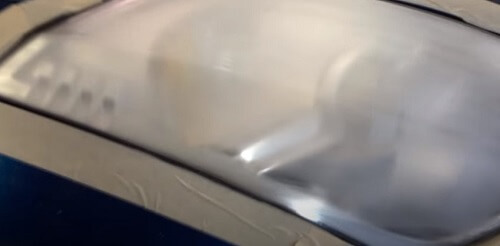
Next step, move onto the 1500 grit sandpaper for a crystal clear look. It will remove the tiny scratches and give a finer and more precise finish. Before you start sanding again, I suggest removing the old tape that is coming off because the water from the sanding reduced the adhesion.
Adding a new tap around will keep your car from damage as the worn-out might have lost its strength and can easily come off if you accidentally sand that area. So better redo the tape.
A 1500 grit sandpaper can wear out quicker than you’d expect so you might need a whole sheet. Cutting it in half can provide better grip and keep the whole sheet from wearing off at once.
Since it is way finer than a 600 grit, you’ll need plenty of wear while sanding. Once you’re done, dry it all with some paper towels and remove the tape.
Next up, use a bunch of newspapers and some tape to cover the area around the lens and make sure to get all ridges. This is to prevent the spray paint from getting everywhere.
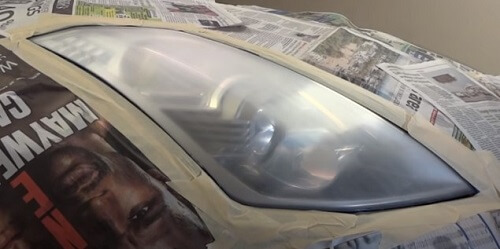
Shake the spray can well to mix the components and start spraying an even layer on the lens. Keep the spray can at least 8-10 inches away; you don’t want blotches. Apply 3-4 layers of paint.
Allow it to dry completely before applying the wax. Use circular motions to apply it evenly and let it dry for at least 20 minutes and then use microfiber and rub it well. All done!
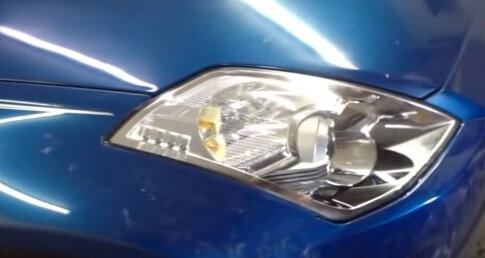
Method # 2
Tools Needed For This Task
Power Drill
Pair of Gloves
Headlight Lens Restoration System
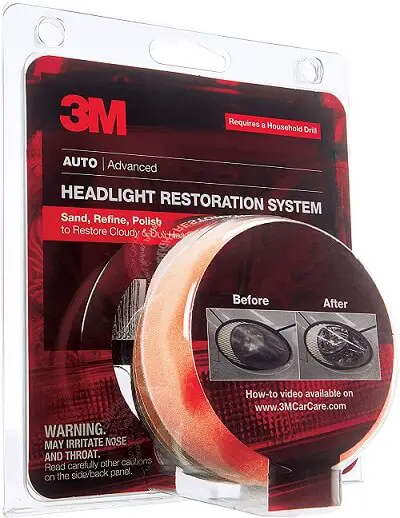
This method is quicker and easier if you know your way around a power drill. Before you get into to get yourself a mask, you don’t want to inhale polycarbonate dust; a pair of gloves to protect your skin and some kind of protection. Any glasses would do.
Just like the other method, this one involves sanding too. Wash the headlight lens with soap water thoroughly. Dry it out completely. Many people use towels or rags for the drying process, but I recommend paper towels. They are disposable and prevent scratches.
Now, get your power drill and use P500 to start sanding the lens. You don’t need to wet the surface at this stage. Ensure an evenly sanded surface. In the end, it should look super foggy.
Now move on to P800. It is finer than P500 and will take off a lot more of that yellow-ed polycarbonate layer. At this stage, the lens would be completely opaque.
Finally, switch to 3000; you will need to use water at this stage. A 3000 requires wet sanding. It is more effective to pour water onto the lens than on the sandpaper itself. If you notice a white slurry forming, it’s a sign that you’re getting all the bad stuff off the lens.
Once you have sanded the lens completely, you will notice that your headlight lens looks worn out. That the look you want to achieve at the end of the sanding process.
Take the sponge attachment and put a dollop of rubbing compound; smear it around with your finger (do not forget the gloves) to avoid making a mess when the drill is on.
Once you start rubbing the compound on the lens, you’ll notice a dramatic change in the clarity of the lens. It will not only be clearer, but also the yellow hue will be gone completely.
Also Check : What is the Best All Purpose Cleaner For Car Interior?
